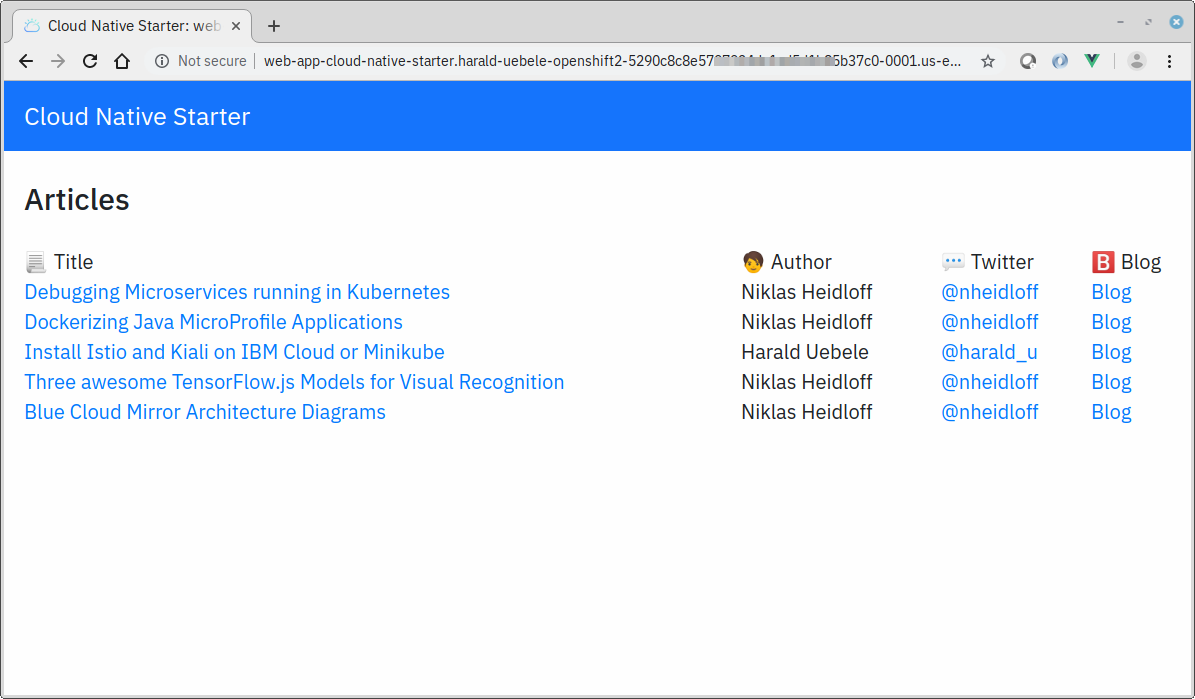
In my last blog I explained how to deploy our cloud native starter project on Minishift. Since early June 2019 there is a Red Hat OpenShift beta available on the IBM Cloud. It is currently based on OpenShift 3.11 and is a managed offering like the IBM Kubernetes Service on IBM Cloud. Our cloud native starter project is mostly based on Open Source technology and free offerings but while OpenShift is Open Source it is not free. During the beta there are no license fees but OpenShift does not run on the free cluster available with the IBM Kubernetes Service.

The deployment of the cloud native starter example is documented in our Github repo. Where are the main differences to the Minishift deployment?
There is no user installation of OpenShift: You create a Kubernetes cluster of type “OpenShift” in the IBM Cloud dashboard and the rest is taken care of. After typically 15 to 20 minutes you will gain access to the OpenShift web console through the IBM Cloud dashboard. A user and password has been automatically created via IBM Cloud Identity and Access Management (IAM).
To log in with the ‘oc’ CLI you can either copy the login command from the OpenShift web console, request an OAuth token from IBM Cloud dashboard, or use an IAM API key that you can create and store on your workstation. The latter is what we use in the OpenShift scripts in our Github project:
oc login -u apikey -p $IBMCLOUD_API_KEY --server=$OPENSHIFT_URL
So while security aspects between Minishift and OpenShift on IBM Cloud are not different, there is no simple login with developer/developer anymore.
In Minishift we applied the anyuid addon to allow pods to run as any user including the root user. We need to do that in OpenShift, too, although this is not really considered best practice. But the Web-App service is based on an Nginx image and this is causing a lot of trouble in the security area. And I really didn’t want to spend a lot of time fixing this. The script ‘openshift-scripts/setup-project.sh‘ pulls the OpenShift Master URL for the ‘oc login’ in the other scripts, creates a project ‘cloud-native-starter’, and adds the anyuid security constraint to this project.
All deploy scripts use the binary build method of OpenShift: Create a build configuration with ‘oc new-build’ and then push the code including a Dockerfile with ‘oc start-build’., e.g.:
oc new-build --name authors --binary --strategy docker --to authors:1 -l app=authors
oc start-build authors --from-dir=.
This triggers the creation of a build pod which will in turn create an image with the instructions in the Dockerfile and push the image into the OpenShift Docker Registry as an image stream. The binary build is able to perform the multistage build we use for some of the microservices. Deployment of the apps is then done with ‘oc apply’ or ‘kubectl apply’. Creating a route for a service exposes the service with a URL that is directly accessible on the Internet, no need to fiddle with NodePort etc.
oc apply -f deployment-openshift.yaml
oc expose svc/authors

Istio is currently not officially supported on OpenShift. There is a Red Hat OpenShift Service Mesh currently available as Technology Preview. The upstream project for this is Maistra and this is what I want to test next. But Maistra requires the so-called “admission-webhooks” for Sidecar auto-injection, and these are currently missing in the OpenShift on IBM Cloud master nodes. There is an issue open with IBM Development and they plan to include them in the near future. So for the time being we deploy the cloud native starter example on OpenShift on IBM Cloud without Istio. And I plan another blog once I am able to install Istio, stay tuned.